If you have an ice cream churner, try this recipe. Serve this ice cream with chocolate shavings or incorporate chocolate chips into the ice cream itself. Alternatively, serve it as an accompaniment to something tropical... I served it with a passion fruit mousse. The acidity of the passion fruit, and the sweetness of the ice cream, balanced each other out nicely.
Ingredients
Makes 6-8 servings
200ml coconut milk
50ml milk
300ml whipping cream
30ml Malibu
100g caster sugar
Method
Place the sugar in the coconut milk and milk over low heat until the sugar is fully dissolved; allow to cool. Combine all the ingredients. Place on ice cream machine. Once churned, place in air tight container in the freezer, allow to fully freeze, and then use as necessary.
Showing posts with label Dessert. Show all posts
Showing posts with label Dessert. Show all posts
Monday, March 30, 2009


Saturday, January 24, 2009
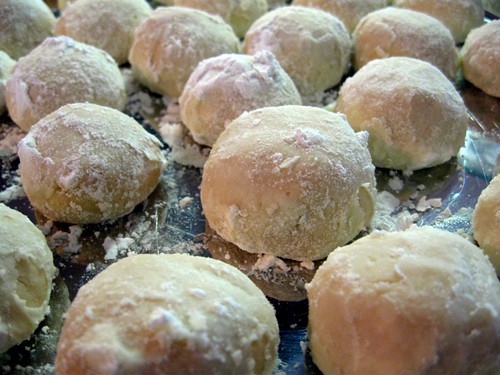
A Great Cookie To Make With Kids: Russian Teacakes aka Snowballs
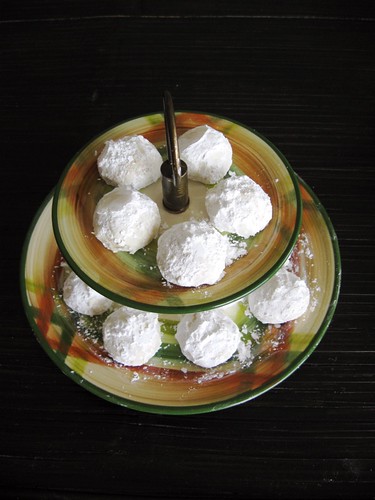
I've been making this recipe with my mom since I can remember; it's kind of our Christmas tradition. I have many fond memories of making these cookies.
At any rate, the teacakes are not only one of the easiest things I've ever baked, but are also very kid friendly. There are many jobs kids can participate in while making these; measuring ingredients, rolling the dough into balls, and covering them in confectionery sugar when they come out of the oven. The best part is, however, is that there are no eggs in this recipe, so mom's don't have to worry about their kids taking a little nibble of the dough or licking their fingers.
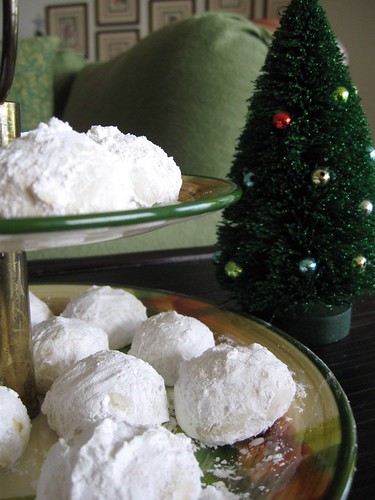
Russian Teacakes
Makes approximately four dozen cookies
Ingredients
1 cup butter, softened
1/2 confectionery sugar, sifted
1 tsp vanilla
2 1/4 cups flour, sifted
1/4 tsp salt
3/4 cup finally chopped (walnuts) nuts (optional, to be stirred in last)
extra confectionery sugar for rolling
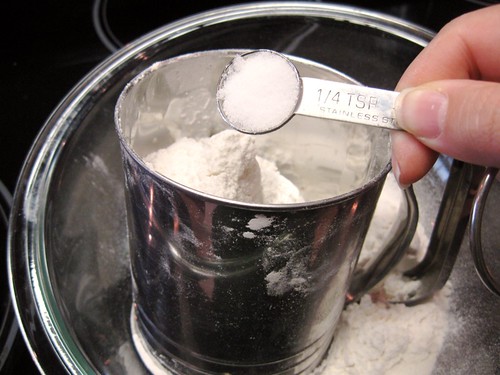
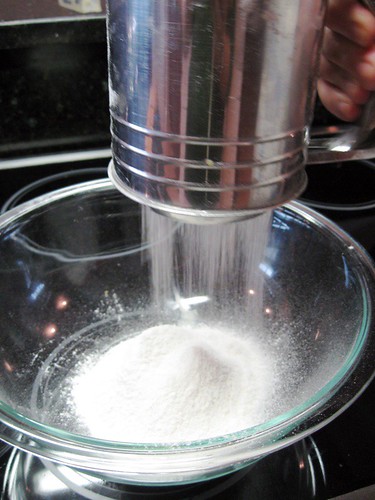
Sift the dry ingredients (flour, salt) together and set them aside.

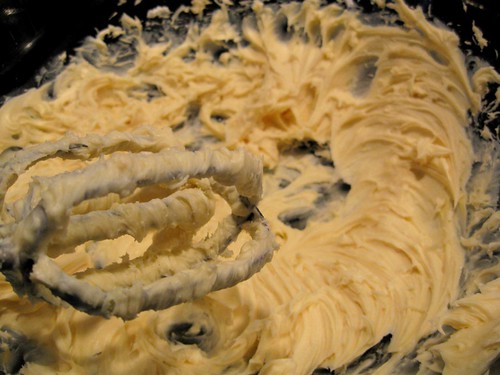
Cream the butter, sugar and vanilla together.
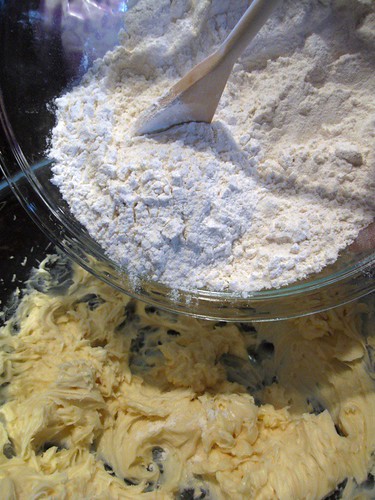
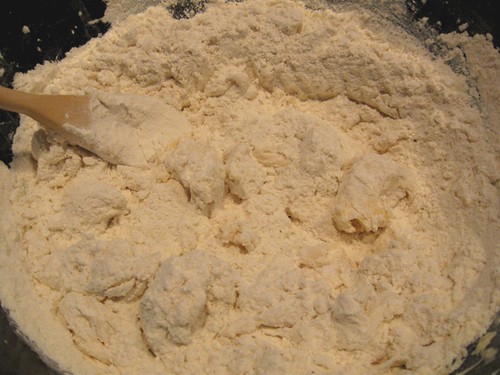
Add the dry ingredients to the wet ingredients, and stir together.
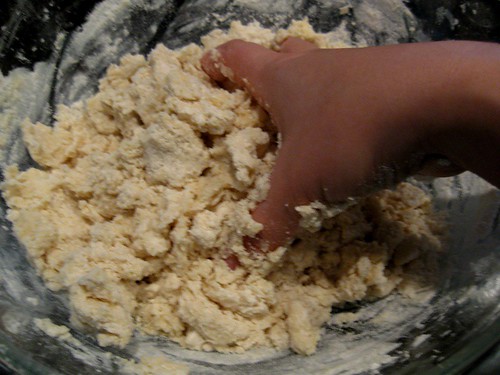
Once the mixture starts coming together, use your hands and form a ball with the dough.
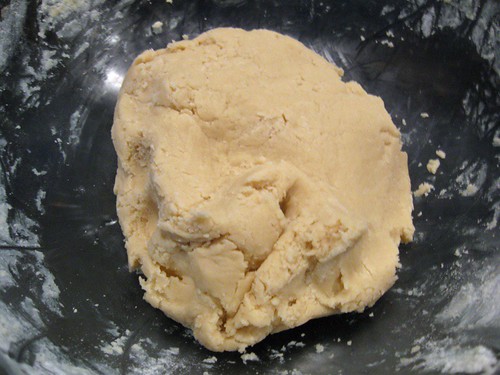
Refrigerate the dough until firm (usually 30 minutes to 1 hour). Preheat the oven to 400 degrees Fahrenheit.
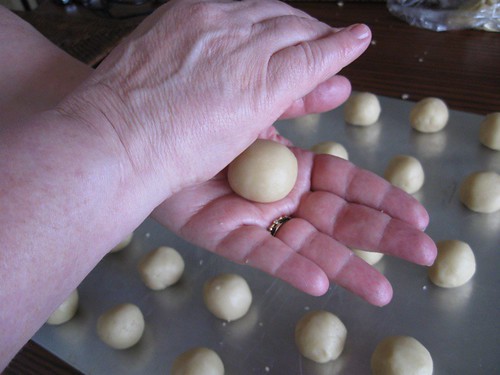
Form once inch balls with the dough by rolling them in the palm of your hand.

Place the cookies on an ungreased cookie sheet quite close together (they don't really spread much).
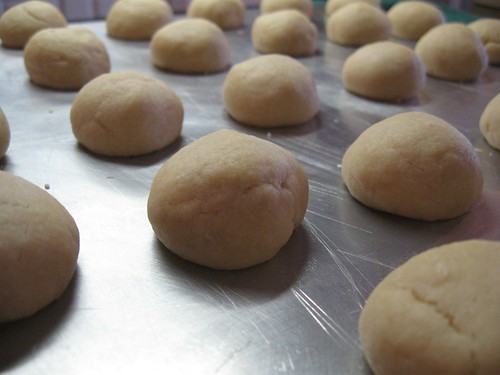
Bake for approximately 10 minutes. I can tell they are cooked with they start to slightly crack at the top.
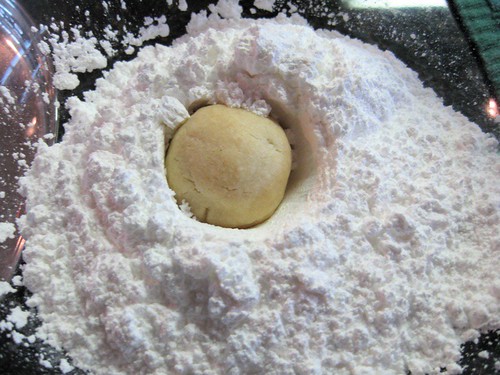
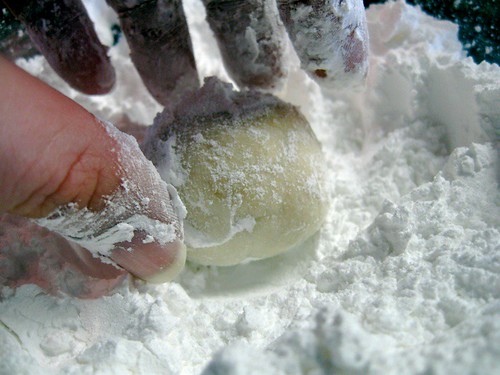
Cool for a few minutes, but while still warm, roll all the cookies in confectionery sugar. After rolling all the cookies once, roll them for a second time. Then allow them to cool completely before storing.

Friday, January 16, 2009
A Few Photos From Le Cordon Bleu London Pastry Class
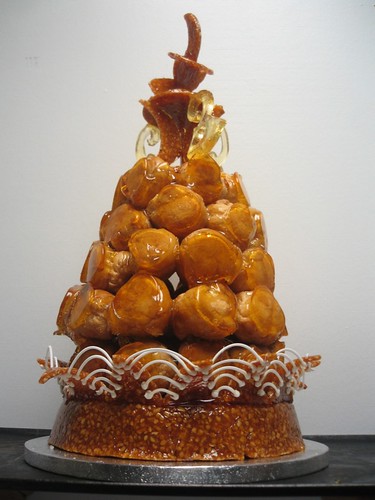
If anyone is curious about what I've been doing at school, I'm including a few photos in this post. I don't have any cuisine photos; we have to serve the food hot and it's tasted immediately, thus destroying the beauty of the food on the plate. In pastry the recipes are so exact that they don't taste our food/art pieces, so there is plenty of opportunity snap away.
Up at the top is a croquembouche, which is a traditional french wedding cake.
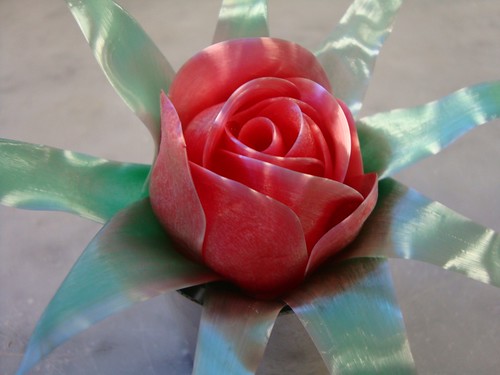
My first attempt to make a pulled sugar rose. I ended up with a huge blister on my thumb from making the petals!
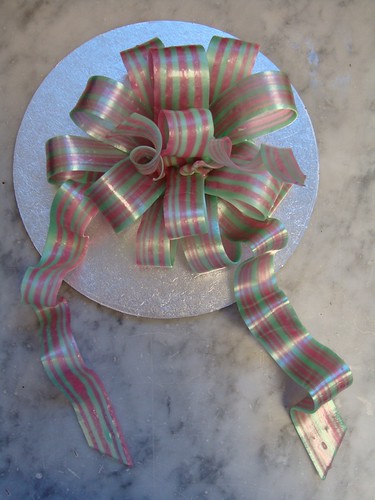
My first attempt at making a pulled sugar ribbon.
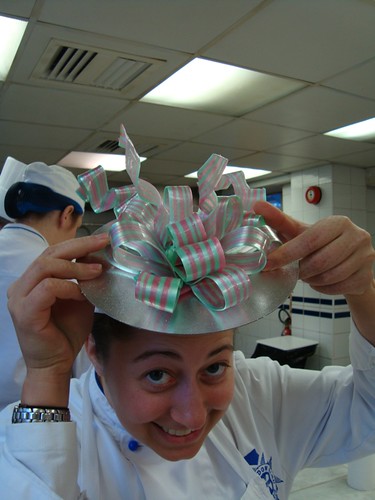
Me, and my ribbon hat....
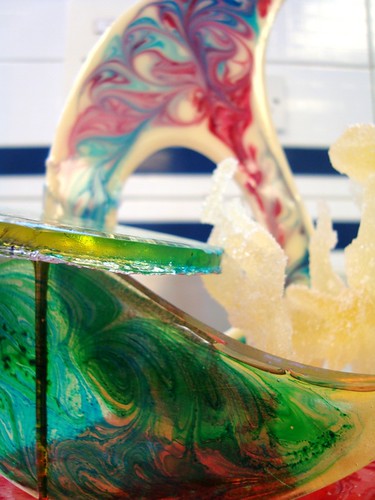
And, my first attempt at pouring sugar. Poured sugar is my favorite of all the sugar work so far.

The fraisier cake, from the top. You can see, my piping needs a bit of work!
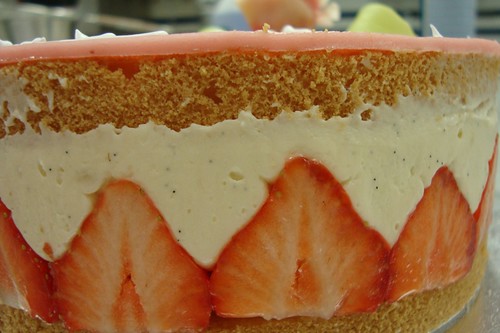
The fraisier cake from the side... yum!
Tuesday, July 29, 2008
Chewy and Rich Chocolate Cookies
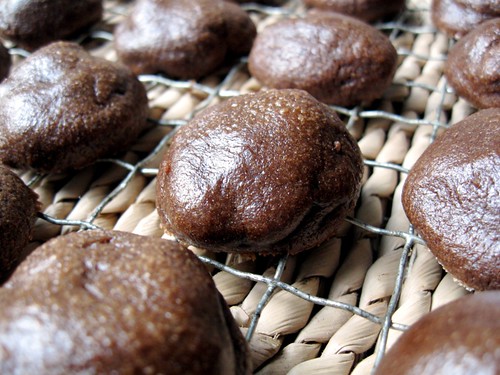
I don't think anything beats a cookie that reminds me of my mom's fudge sauce. This cookie recipe, which I got off the back of a package of Baker's Unsweetened Chocolate, just looked like it might be tasty, and I was very pleasantly surprised.
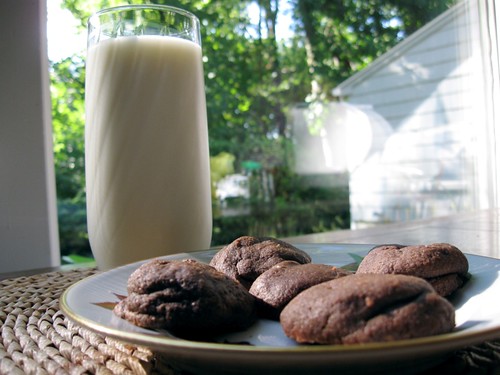
It's also really easy to make. I'd recommend doing it in a mixer if you have one, because the dough gets very stiff at the end, but it's nothing that a little muscle can't handle either.
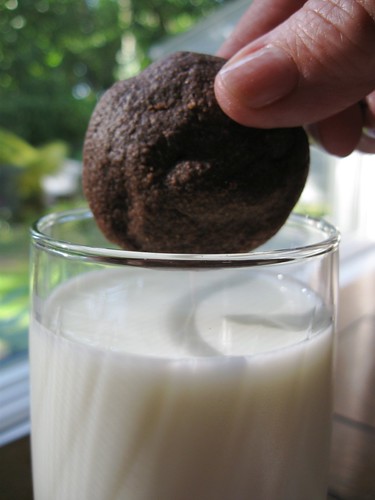
If you are in need of a chocolate fix, these cookies are certainly for you!
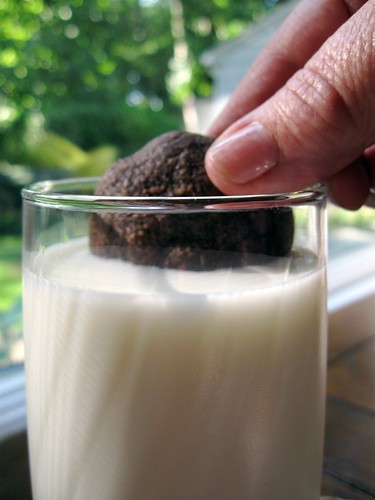
Chocolate Cookies
Makes between 60-70 cookies
Ingredients
4 squares of Baker's unsweetened chocolate
3/4 cup butter
2 cups sugar
3 eggs
1 tsp vanilla
2 1/2 cups flour
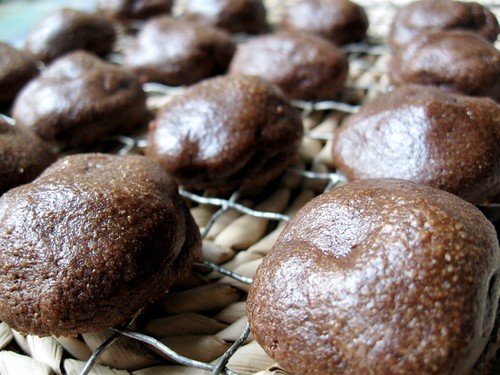
Place chocolate and butter into a microwave safe dish. Microwave the chocolate and butter until melted. This will probably take approximately 2 minutes, but depending on the strength of your microwave, might be slightly more or less. It's important not to microwave the chocolate and butter too long; you risk the chance of burning the chocolate. If you are worried about the strength of your microwave, try microwaving just a minute, and then giving the chocolate and butter a stir. When it's almost melted, bring the cooking interval time down to 30 seconds.
Once the chocolate and butter are completely melted, stir until completely blended. Next, mix in the sugar. The mixture will look kind of grainy.
Stir in the eggs and vanilla. I like to lightly beat the eggs before mixing them in so that they blend in well and are not mostly yolk in one place, and white in another.
Finally, stir in the flour. Do this in three or four additions, so that the flour doesn't go everywhere. The dough will feel quite stiff.

If it's not firm and easy to roll, place the dough in the refrigerator for up to an hour.
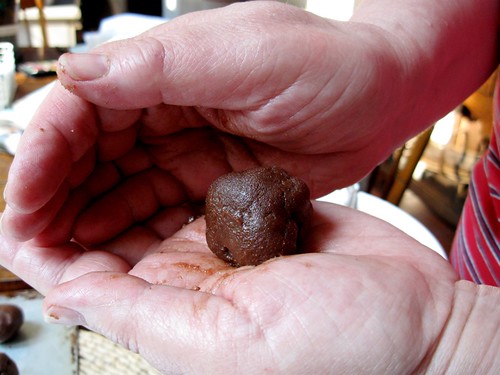
Preheat the oven to 350 degrees Fahrenheit. Shape the dough into 1 inch balls, and, on to a greased cookie sheet, place approximately 2 inches apart.
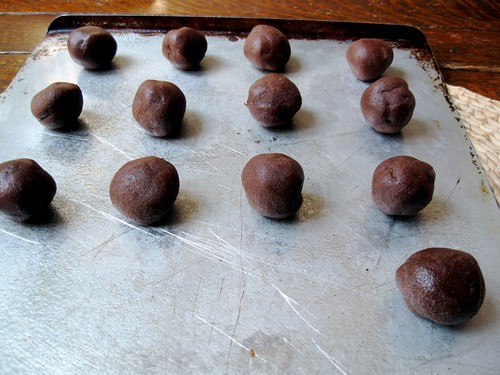
Bake for 8 minutes. The cookies should be just set. This will ensure that they stay nice and chewy. Cool the cookies on the sheet for a minute, then remove to a cooling rack.

I ate a couple when they were still warm, and they were soft and chewy and delicious!
Wednesday, March 5, 2008
Baking 911 with Sarah Phillips
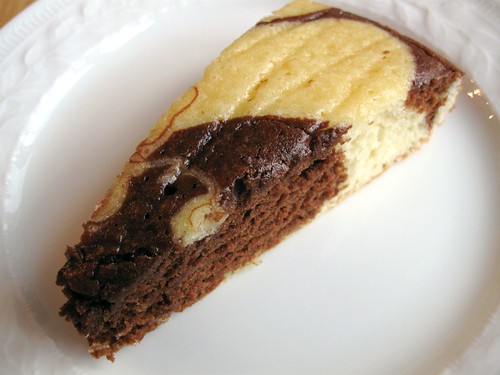
My friend Sarah Phillips runs the baking website Baking 911. Baking 911 is one of the top baking websites on the internet. Sarah is a baking whiz, and uses her expertise to help out others with their baking problems and mishaps. She also has some excellent baking recipes.
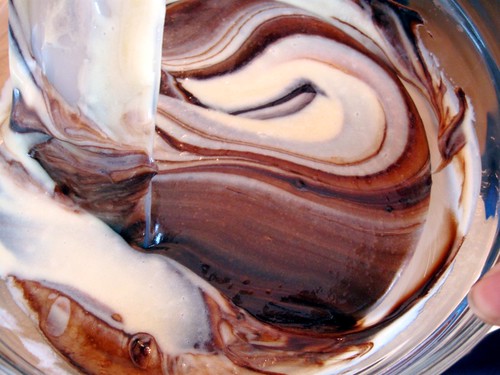
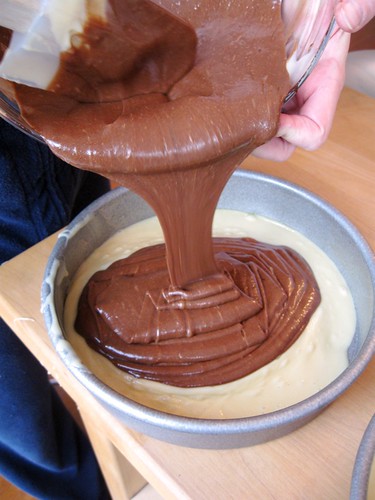
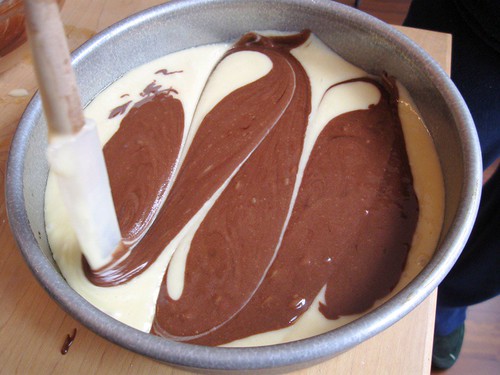
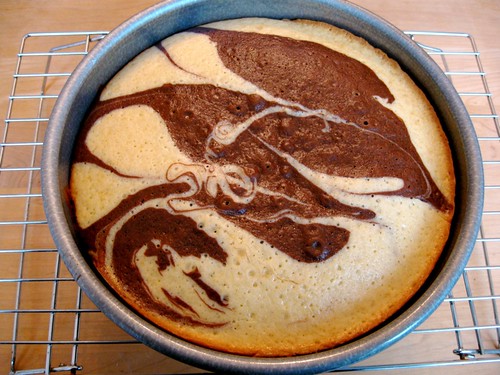
Today we tested a marble cake recipe. Sarah tries many recipes, then spends time improving them. You can see some of the marble cake photos in this blog post.
Thursday, January 10, 2008
Peppermint Bark - Fun For Kids
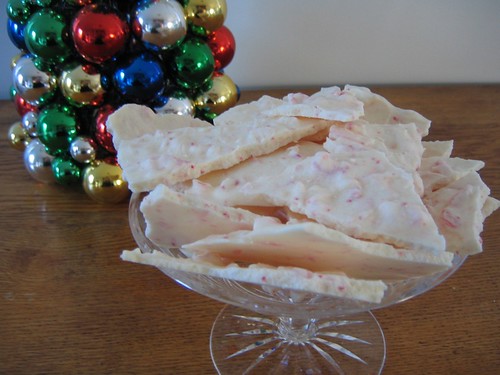
Christmas is over, trees are being disposed of, and decorations are being put away until next year. And then there's always the leftover candy canes. What should I do with them? Stick some in my purse and use them as breath mints? Keep a bowl out for the kids? Feed them to a horse?
No! I say, make peppermint bark! It's so simple to make, and with no eggs or other raw foods it's very safe for the kids to help with.
Peppermint Bark
Makes approximately 30 bite size pieces
Ingredients
12 ounces of white chocolate
3 ounces of candy canes
The first thing to do with this recipe is set up a bain-marie (double boiler). A bain-marie is used to keep things from burning. It's a method often used to melt chocolate, or make mayonnaise or hollandaise sauce.
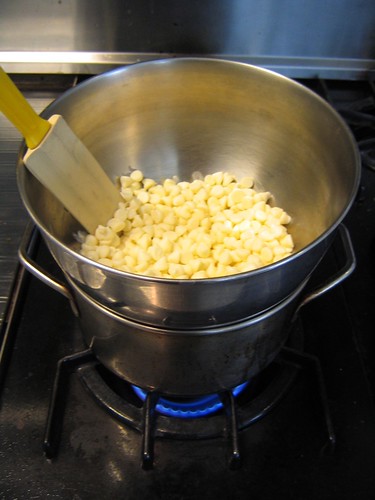
It's very simple to make a bain-marie. Take a pot, and fill it about 1/3 full with water. Then take a bowl that will sit nicely on top of the pot without touching the water. Heat gently under a low to medium flame. Now the bain-marie is ready to use.
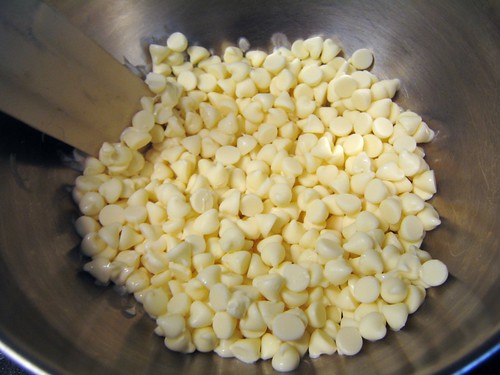
Take the white chocolate, and place it in the top bowl of the bain-marie. It will start to gently melt.
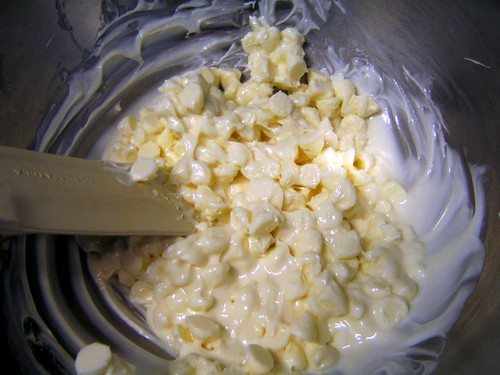
Stir the chocolate occasionally, until all of the chocolate is melted.
In the meanwhile, place the candy canes into a ziploc bag, seal the bag without air in it, and crush them with a rolling pin, or something else heavy.


When the chocolate is completely melted, turn the heat off, and fold in the peppermint pieces until well incorporated.
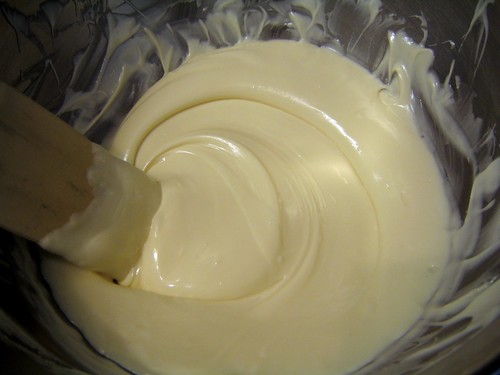
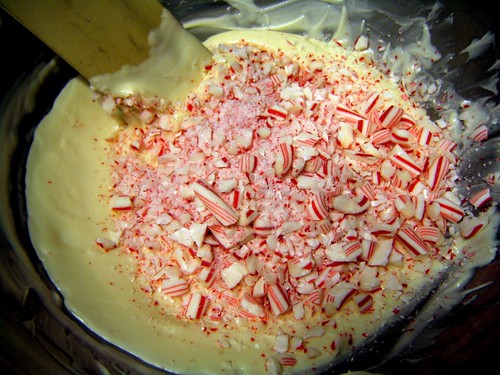
Then, on a waxed covered cookie sheet, pour out the chocolate and peppermint mixture.
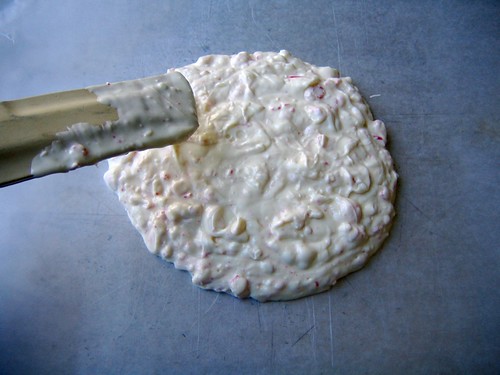
Spread this mixture out carefully until it is 1/8-1/4 of an inch thick.
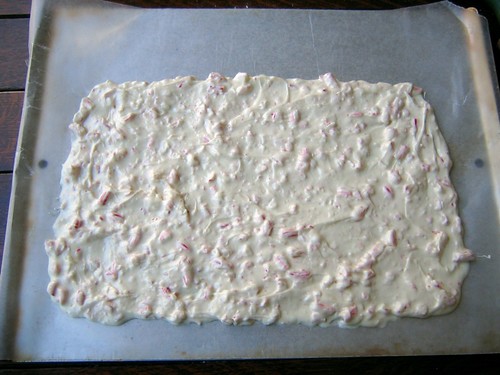
Let the chocolate harden, which takes approximately 20 minutes. You can also set this aside for a few hours and come back to it if need be.

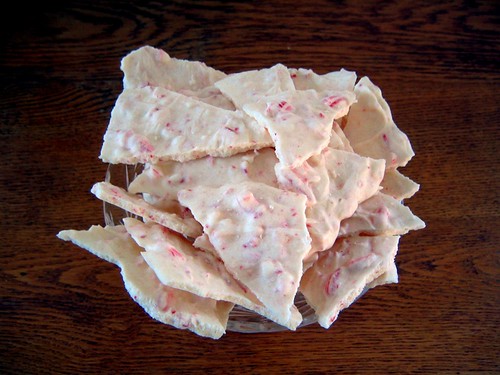
Finally, break the hardened chocolate into bite size pieces.
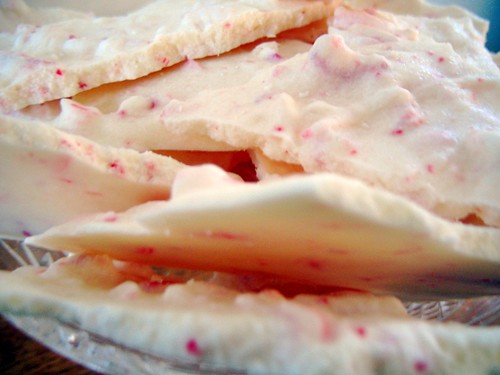
The taste of the peppermint bark is mildly sweet and cooling.
Subscribe to:
Posts (Atom)