Friday, July 11, 2008

Italian Style Meatballs Are Easy!


For some reason, I thought meatballs were complicated to make. I don't know why I had that impression. Maybe it's because there are quite a few ingredients that go into the little round wonders, or maybe because it's a multiple step process to make meatballs. At any rate, I discovered it's incredibly easy, and also very delicious!

Meatballs
Makes 5 servings

1.5 pounds meatloaf mixture (1/3 ground beef, 1/3 ground veal, 1/3 ground pork)
1/2 cup Parmesan cheese
1/4 cup fresh basil, finely chopped
1/2 cup fresh parsley, finely chopped
2 large cloves of garlic, finely chopped
1 tsp freshly ground black pepper
1/4 tsp salt
1 cup bread crumbs
2 eggs
Oil for frying

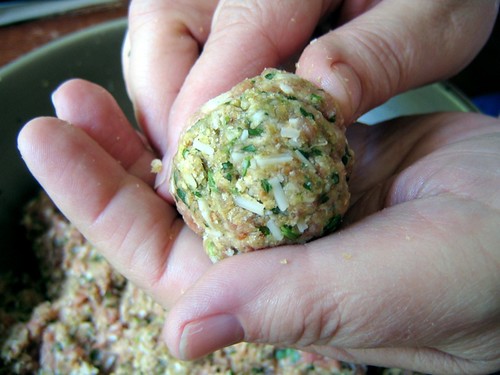
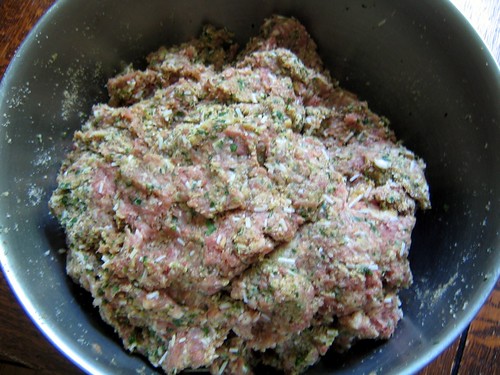
Combine all the ingredients! Mix with your hands to really make sure everything is well blended.


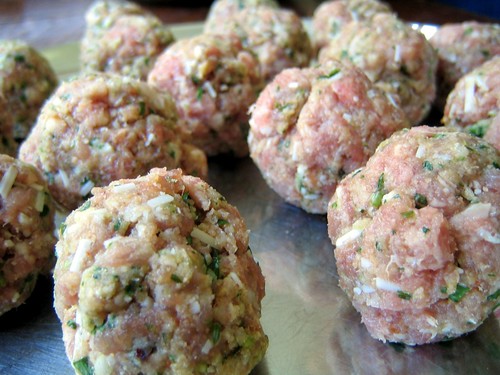
Form one inch balls with the mixture. The colder the mixture is, the easier it will be to roll the meatballs.


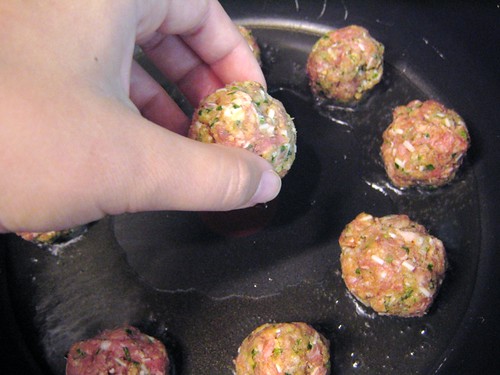
Heat a few tablespoons of oil in a large bottomed shallow non stick pan. A medium-high heat will be needed to brown the meatballs nicely.


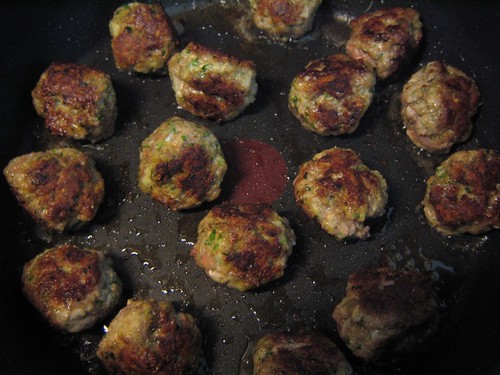
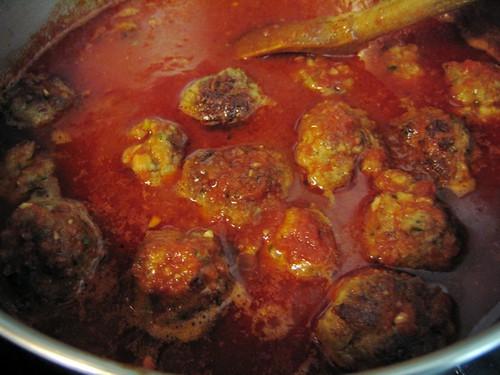
Add a portion of the meatballs to the pan. It is important to not crowd the pan. Brown them on each side for a couple of minutes, or until they have a nice golden brown color. If you plan on putting the meatballs into a sauce, there is no need to cook them all the way through; a few minutes simmering in their sauce will complete their cooking. If you plan on eating them without immersing them in sauce, once they are browned, turn down the heat to low and cook for a further five minutes, making sure to turn them so that they do not get burned.


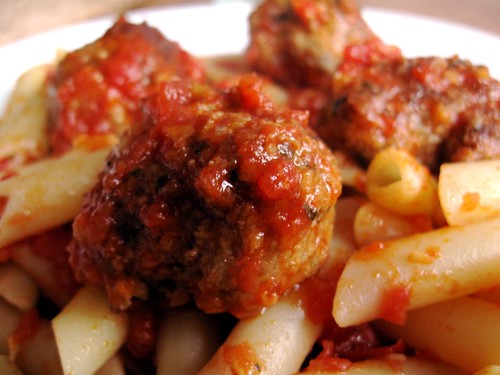
I placed my meatballs in my simple tomato sauce recipe, and simmered them for about 5 minutes before serving over pasta. Definitely an all time favorite with Americans I think!

Wednesday, July 9, 2008

Very Simple, Basic, Tomato Sauce


This is the simplest of the simple tomato sauces. It's so easy to stir up, and many things can be added to it. It also freezes well, so it can be made ahead of time in anticipation of not having enough time to cook a homemade meal.

Add meatballs to this sauce, or scoop some of this sauce in with a bunch of freshly sauteed veggies to make a healthy pasta dinner. It would also be great as the sauce for eggplant or chicken parm. Or us it as a dipping sauce with bread. It's extremely diverse!

Simple Tomato Sauce
Makes 2 Servings

Ingredients
2 tbsp olive oil
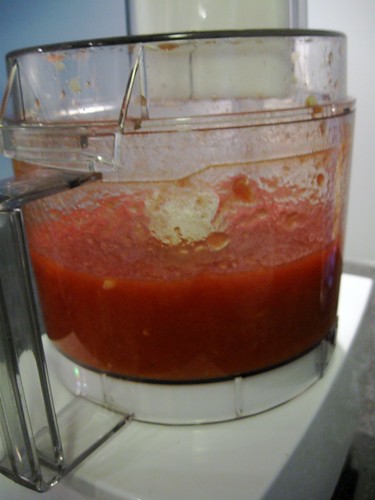
2 cans chopped tomatoes which have been pulsed a few times in a chopper
2 cloves of garlic, finely chopped
1 tsp chili flakes
1 tsp freshly ground black pepper
1 heaping tsp sugar
salt to taste
handful of freshly chopped basil, and or parsley (optional)

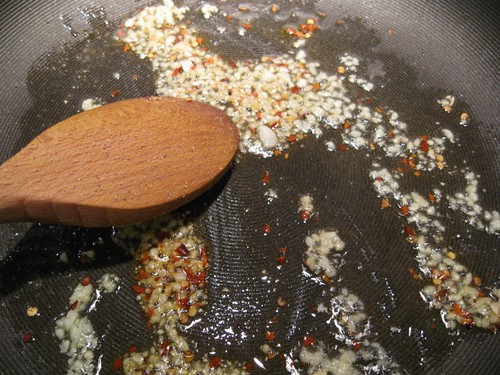
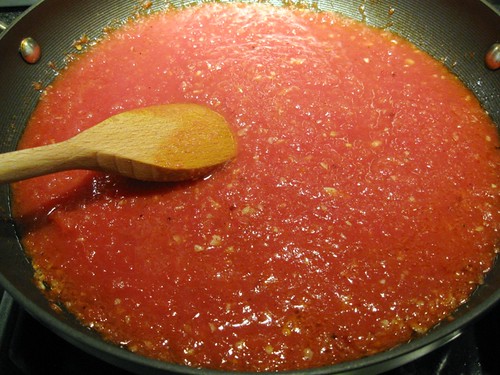
Heat the oil in a shallow pan. Add the garlic, chili flakes, salt and pepper and saute. It is important to pay very close attention to the garlic. It should take 1-2 minutes for the garlic to become very lightly brown.


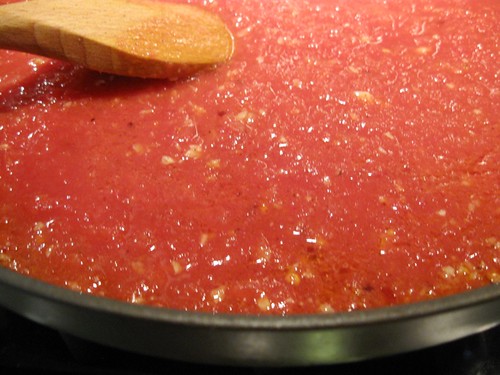
Have the tomatoes ready and add them to the pan. Stir all the ingredients together. Finally add the sugar and stir. Let the sauce simmer on a low heat for 10-20 minutes.


If you are planning to add basil or parsley, add it during the last 5 minutes of cooking.


It's possible to use fresh tomatoes for this recipe, but it would make it much more expensive and laborious. Also, tomatoes should be in season so that they actually have some flavor! If you do decide to use fresh tomatoes, they will need to be peeled and chopped. It would probably take 8-10 plum tomatoes to create the same amount of sauce.

Wednesday, June 4, 2008

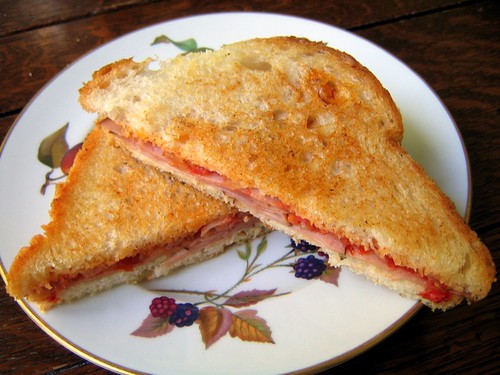
Dad's Ham Sandwich


Since I can remember my dad has been making this simple, but very tasty ham sandwich. The first time I remember making it is in our kitchen in the basement of our house in London for lunch on the weekend.

There is certainly nothing out of this world about this ham sandwich, but for some reason I do crave it every so often. I don't know where my dad got the idea of putting sauteed onions and tomatoes in a sandwich; I've certainly never seen it on the menu anywhere or eaten anything like it.


Dad's Ham Sandwich
Makes one sandwich

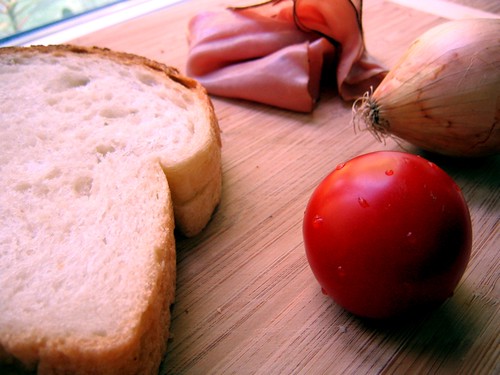
3 tbsp finely chopped onion
2 tbsp finely chopped firm tomato
2 slices of any type of bread, I use white pullman
2-3 thin slices of baked ham
canola oil


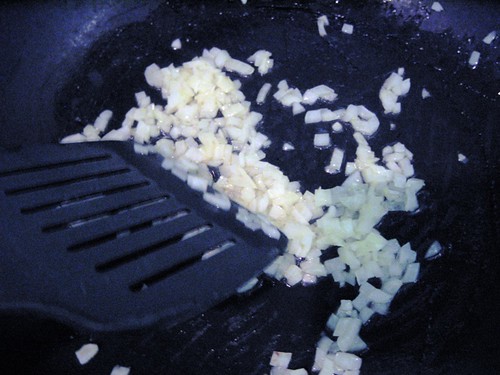
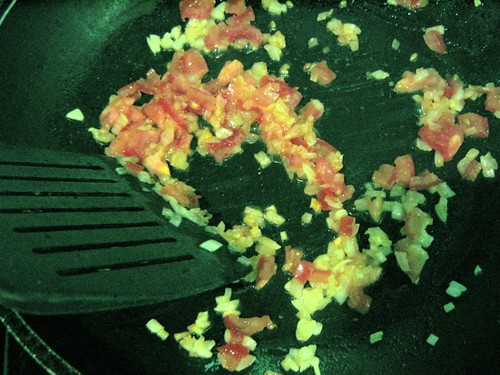
Heat up a small, shallow pan that will fit the sliced bread into it. Add about a tablespoon of canola oil to the pan, and once it is hot, add the onions. Saute for about 2-3 minutes, until they are fairly soft but still retain a small about of crunch. Add the tomatoes and saute for about 1 minute, until they are heated through and start to soften. Remove to a bowl.


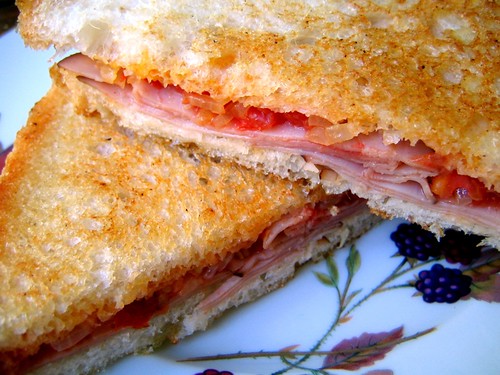
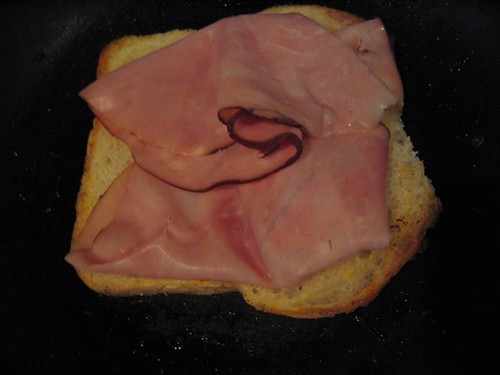
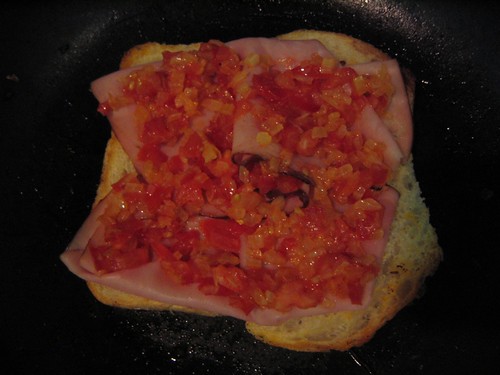
In the hot pan, place a slice of bread (if you want it to be both tastier and crunchier, add a bit of oil or butter to the pan and spread it evenly before adding the bread). Next, pile on the ham, and on top of that, spoon the onion tomato mixture over, making sure it is spread evenly. Then place the second piece of bread on top.


When the bottom piece of bread has become lightly browned, flip the sandwich over carefully with a spatula. Don't let it all fall apart in the process!


Brown the other side (add a bit more butter or oil to the bottom of the pan if you wish). Remove to a plate, and slice in half. Serve hot!

Tuesday, May 6, 2008

Cooking on the Roof of Africa: Kilimanjaro Climb

From March 31st to April 6th, I waddled up, and then back down, Mount Kilimanjaro, Africa's tallest mountain. Kilimanjaro, standing tall at 19,341ft (5,895m) is also the world's largest free standing volcano.


I took the Machame route up the mountain. The Machame route has five camps on the ascent: Machame Hut, Shira Hut, Barranco, Karranga and finally the base camp, Barafu. The first two days the ascent is fairly steep. The following three days we followed the philosophy of "climb high, sleep low" as we traversed around the side of the mountain. During the day we climbed up as high as 4,600m, and then would climb down to sleep between 3,700-3950m which helped us to acclimatize.

Kilimanjaro is really amazing; in just a few days one gets to experience every climate from tropical to arctic. The best part about Kilimanjaro is that almost anyone can climb it, well, anyone who can handle the altitude. There is no technical climbing, no ropes, no crampons, no abseiling; a few scrambles here and there up and down rocks (the longest being the one hour climb up the great Barranco Wall) and some slippery gravel are about as difficult as it gets.

My best friends for the week were my walking poles, my water bottles, and my hand sanitizer. Ah yes, and lets not forget my wonderful guides, Adam and Dixon, and all of the porters who carried the gear and food. Adam, the head guide, runs a small company called Ringo Expeditions. If you are planning a Kilimanjaro climb I urge you to contact Adam, whose first concern is your safety, the most important thing on a climb to such high altitude. Adam and Dixon strategically, and quietly, looked for symptoms of altitude sickness. They also cleverly answered some questions vaguely, so that I didn't get worried about what is coming next in the climb. The porters were also pretty awesome, carrying up to 20kg's of gear, and whizzing past saying "pole, pole" (slowly, slowly) as I trudged along.


Going slowly on Kilimanjaro is important. If I had tried to race up the mountain, there would have been no way I would have made it. At the base camp, Barafu, the high altitude affects everything you do. I was out of breathe walking to the toilets (well, hole in the ground), rolling over in my sleeping bag, even trying to get my gear on prior to the final ascent!

The final ascent was more like self-torture than anything else. We left at 11:30pm. About three hours in I asked myself why on earth I was doing this climb to get to the top of Africa. It was very cold, extremely windy (I was literally getting blown over by the wind), and pitch dark. I had to give up my walking poles and put my hands in my pockets to try and warm up my fingers. I also spent time battling with my nose that was running like water; I felt drops dripping out of my nose and then watched them blow away in the light of my headlamp.


At 7:06am I reached the summit. A few quick photos (yes, I am holding on to the sign for dear life in this photo because of the wind) and then it was back down again. Three hours later I was back at the base camp, thankful for the opportunity to take a nap after the all night climb. I was in pretty okay shape except for my fingers which were kind of numb at the tips; little did I know it would take almost a month for the feeling to completely return!

But what of the food on Kilimanjaro? I kept wondering about this before I left. Perhaps it's different depending on which company you climb with, or how much you pay for a climb. But I'll tell you how our group ate.

The food was served in courses. Every day for breakfast we had some sort of porridge, followed by a fried egg and a sausage. Lunch was the most varied; sometimes it was a packed lunch which we took with us and ate halfway through the days climb, or sometimes we ate at the next campsite. Packed lunches included a juice box, hard boiled egg, a piece of fried chicken, cookies, some sort of sandwich or other carb, and always a couple of bananas. I actually think bananas must be free in Tanzania... I've never seen (or eaten) so many bananas in my life!

Snack time was always my favorite time of the day. Unfortunately at high altitude one's appetite shrinks, or diminishes completely, but that's why snack time was so good; it's easy to force down some popcorn and nuts even when you are not that hungry.

Dinner, like breakfast, was served in courses. First there was always soup with some sort of bread, often something similar to a chappathi. The next course was the main event, some sort of stew (vegetarian after the first day or so since there was no refrigeration) served with a starch (potatoes, rice or pasta) and a vegetable. Dessert was usually fruit. Also, at every meal there was always hot water, for tea, coffee, and hot chocolate.


As my appetite shrank, I found I was able to eat a lot more if I put hot sauce on everything. I really like hot sauce of any description (see my Red Hot post), but if you decide to go on a Kili climb I would recommend bringing along something you really like, whether it be HP sauce, BBQ sauce, mayo, ketchup etc. I also found that it was really easy to eat the highly caloric foods, like fried potatoes. Even at base camp, I managed to be a member of the clean plate club because we had fried potatoes for lunch. I can't stress to you how important it is to eat and drink as much as possible while climbing Kili; you need 4-5 liters of water per day, and enough food to keep you energized while you climb.
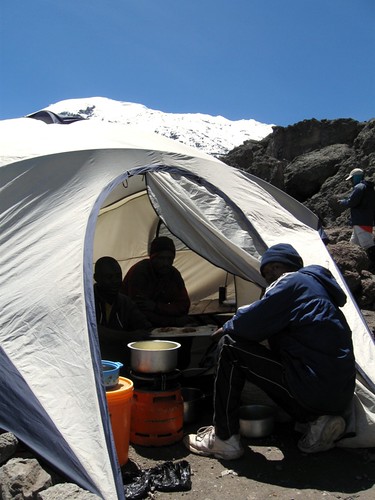


The porters cooked the food on the fringe of their tent. They cooked on a single gas burner between the outside and inside lining of the tent. Because it's very cold in the evenings on Kili they often had the outside lining to the tent shut as well, but in the photo I have taken the flap is open so that you can get a good idea of how things were situated. If you look closely at the photo below you can also see a little table off to the right where I ate my meals. Cooking takes plenty of time at high altitude, and it's not to be laughed at that the porters had to boil all of my water every day.


Climbing Kilimanjaro was both challenging and rewarding. I don't think it was until a few weeks later when I was back in America that I fully appreciated what an amazing thing I had just done.

Thursday, May 1, 2008

Tanzanian Lunch in a Hut


On my recent trip to climb Mount Kilimanjaro, I stopped in Arusha, which is Tanzania's 3rd biggest city. My friends Christian and Sarah have been volunteering at an orphanage there.


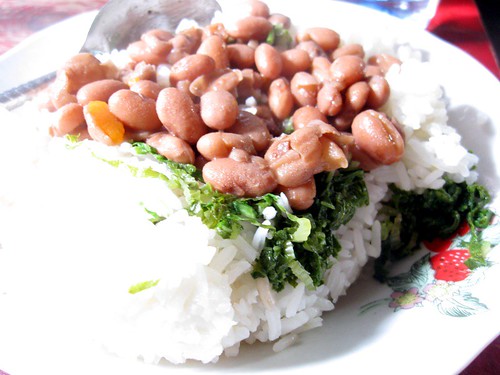
Every day for lunch, Christian and Sarah ate at this little, well, I don't know if it has an official name, but I would describe it as a hut. Having been warned not to eat "street food" in many countries, I became apprehensive when I saw the "Mama" cooking in the wide open, but Christian assured me that he had eaten there every day for a month without problems.


So into the hut we went. In all honesty, I think it would have been nicer to eat outside, where there was a nice breeze and no scrawny looking cat looking up at us from underneath the table, but eating inside the hut was the protocol.


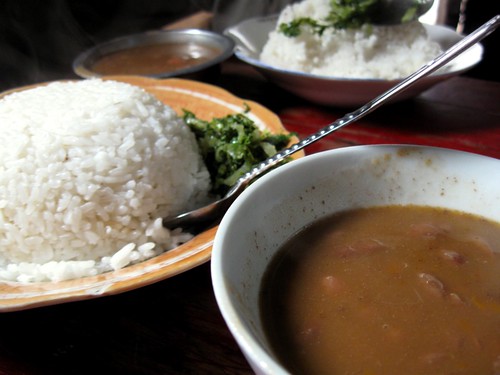
Christian ordered up his daily staple, which was rice, beans, and some sort of mild green. It arrived piping hot and was pretty good. Not the most flavorful, but hardly unlikeable. Sure enough, I had no stomach problems and found the experience of eating like a local to be both interesting and fun.


Wednesday, April 30, 2008

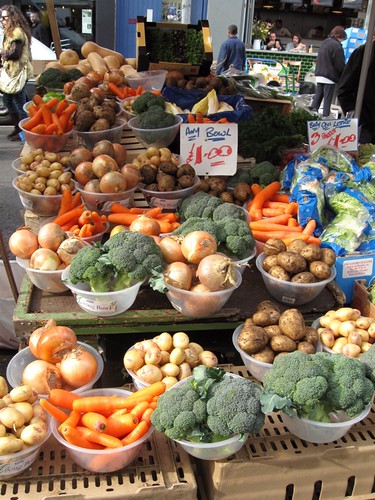
Sights of Portobello Road Market: The Food Stalls


Portobello Road is probably London's most famous market. It's been featured in many movies; everything from the children's classic, Bed nob's and Broomsticks to the famous romantic comedy Notting Hill.


Portobello Road Market has everything; antiques, food, clothes and accessories from up-and-coming designers, music, and of course some junk. Go there on a Saturday, and go early, to avoid the huge crowds of tourist who descend upon the market by midmorning.


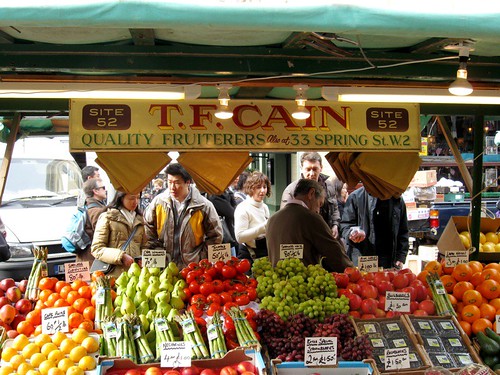
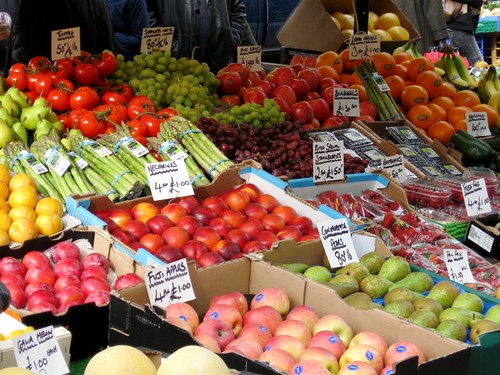
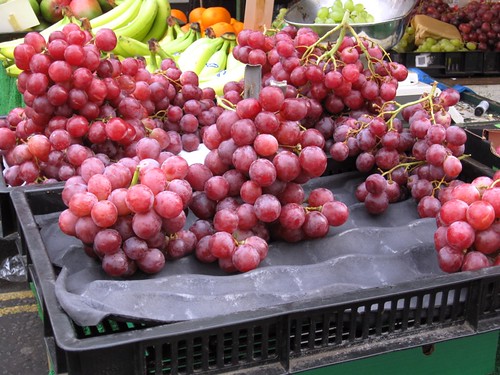
This being a food blog, I took a bunch of photos down at the food end of the market. When I spend time in London, I go to Portobello on the weekends to get my fruit and veg. If you go on a weekly basis, the vendors get to know you and it's really a nice feeling to go back every week, pick up some great produce and get greeted nicely by some real Londoners.